
November 5, 2026
Make Your Own: Hairclip Display
Communicating is hard sometimes. So I made a screen that says it for me.
Sometimes I don't have the words handy.
Not the big words. The little ones. Give me a minute. Not right now. Hi, yes, come talk to me. The ones you have to say out loud, on the spot, while someone is standing there waiting for them.
So I built a screen that keeps some in stock.
What it is
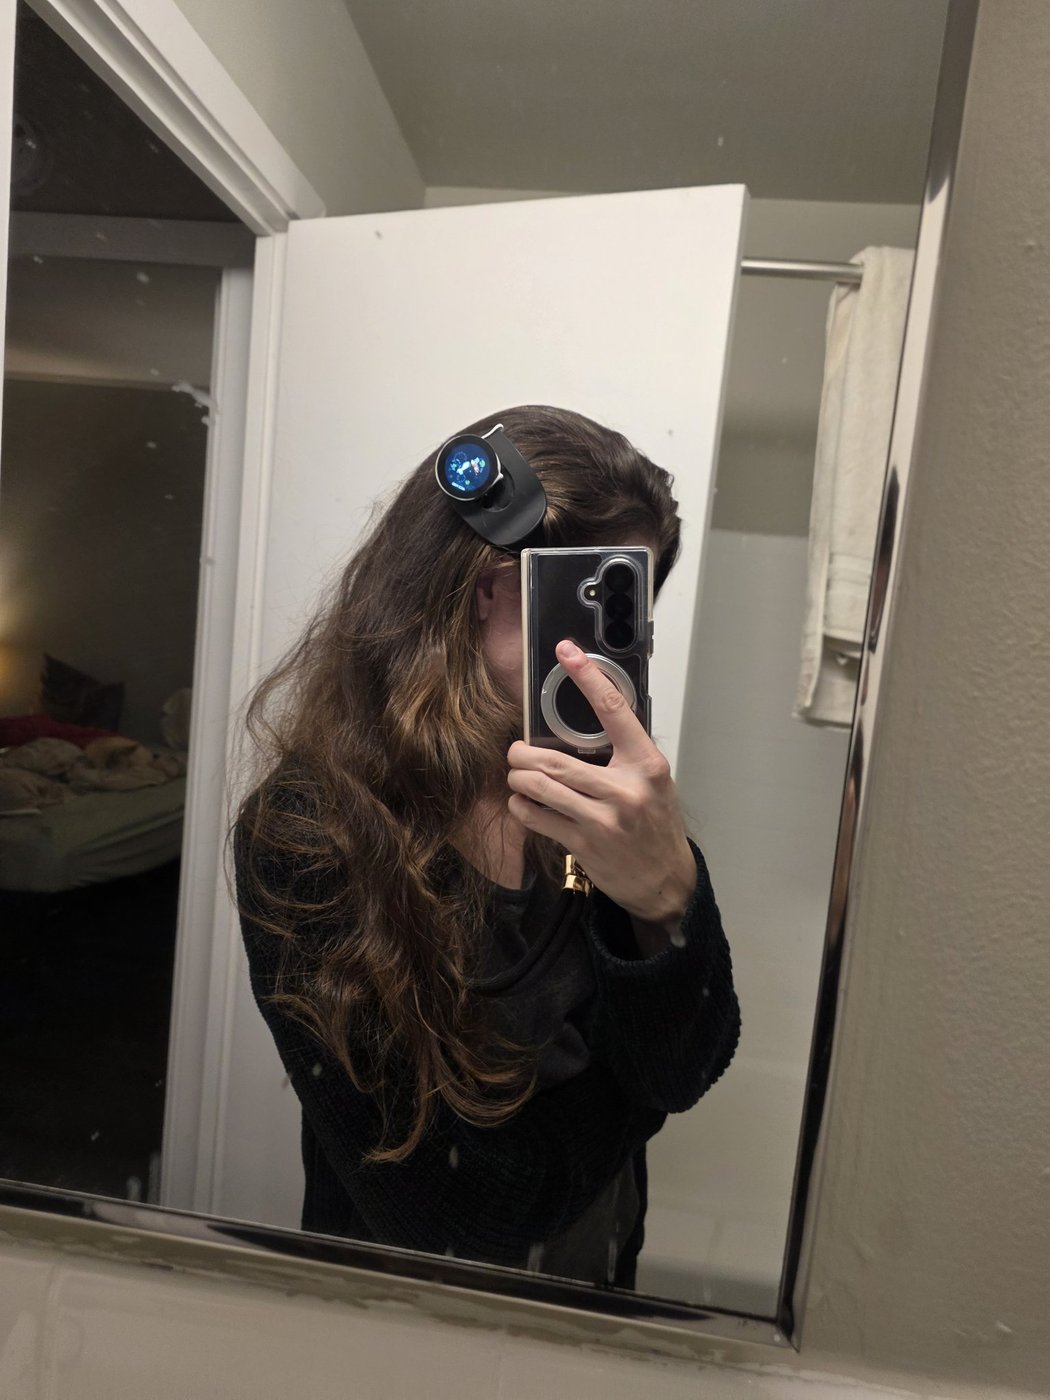
It's a round touch screen — 240×240 — and I wear it on a hair clip. Mostly it shows moods. HEADS DOWN. IN A MEETING. SAY HI. NEED QUIET. THINKING. DO NOT PERCEIVE ME. There's a scrolling one that says ASK ME ABOUT THE SWARM GARDEN, and a heart for when the mood is just DELIGHTED.
I tap until it says the thing, and then it says the thing for me. Out loud, in pixels, to whoever is looking. I don't have to find the sentence, or time it, or watch it land.
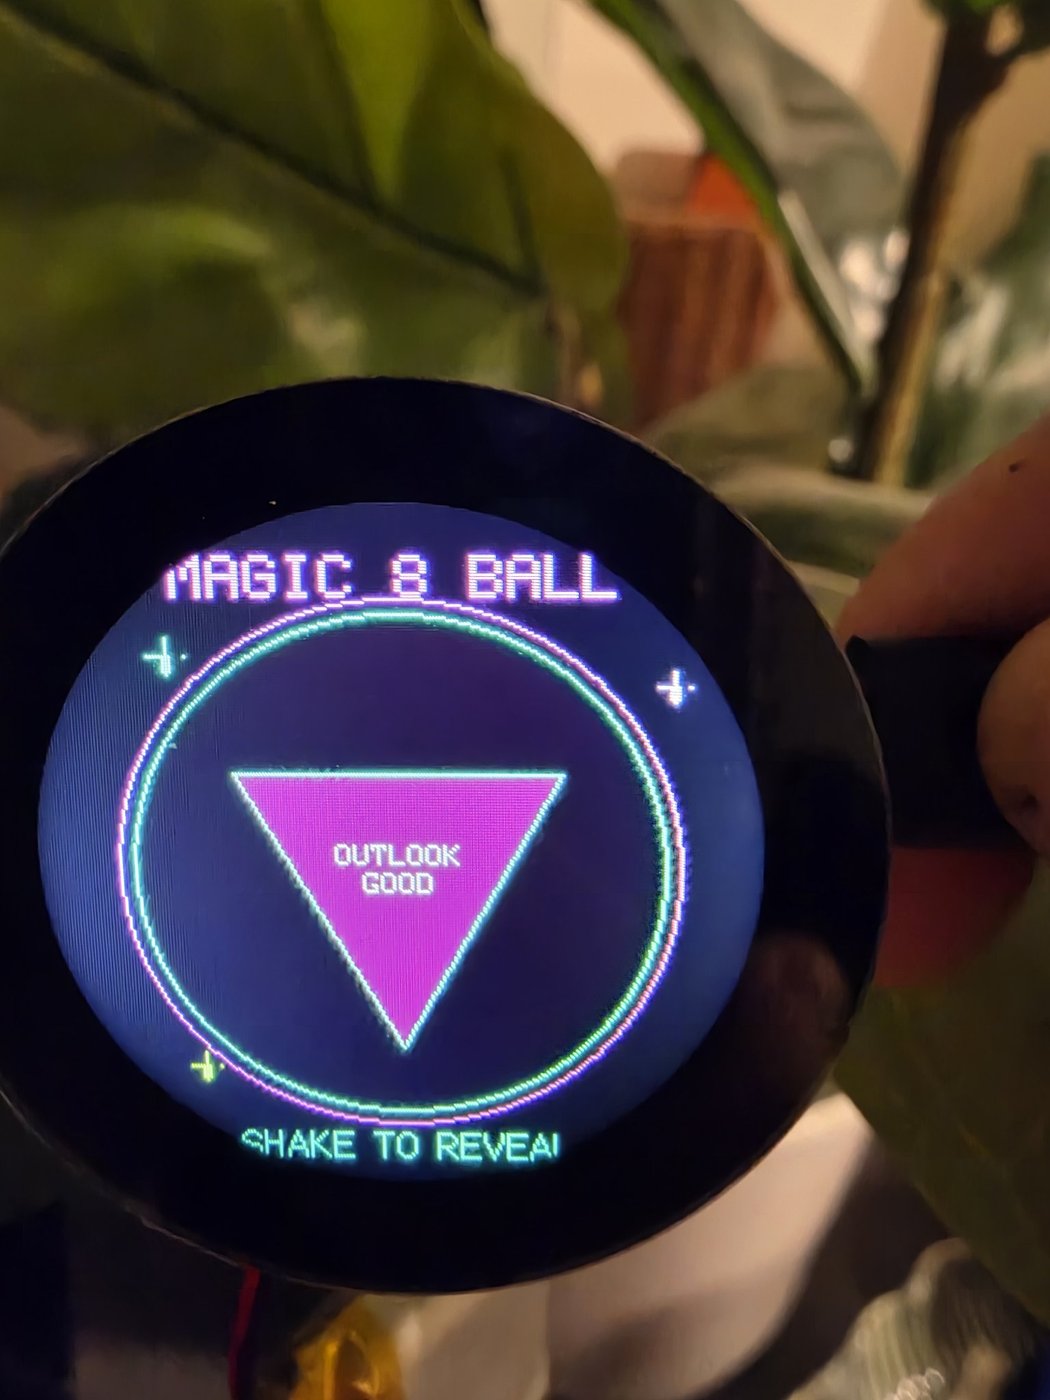
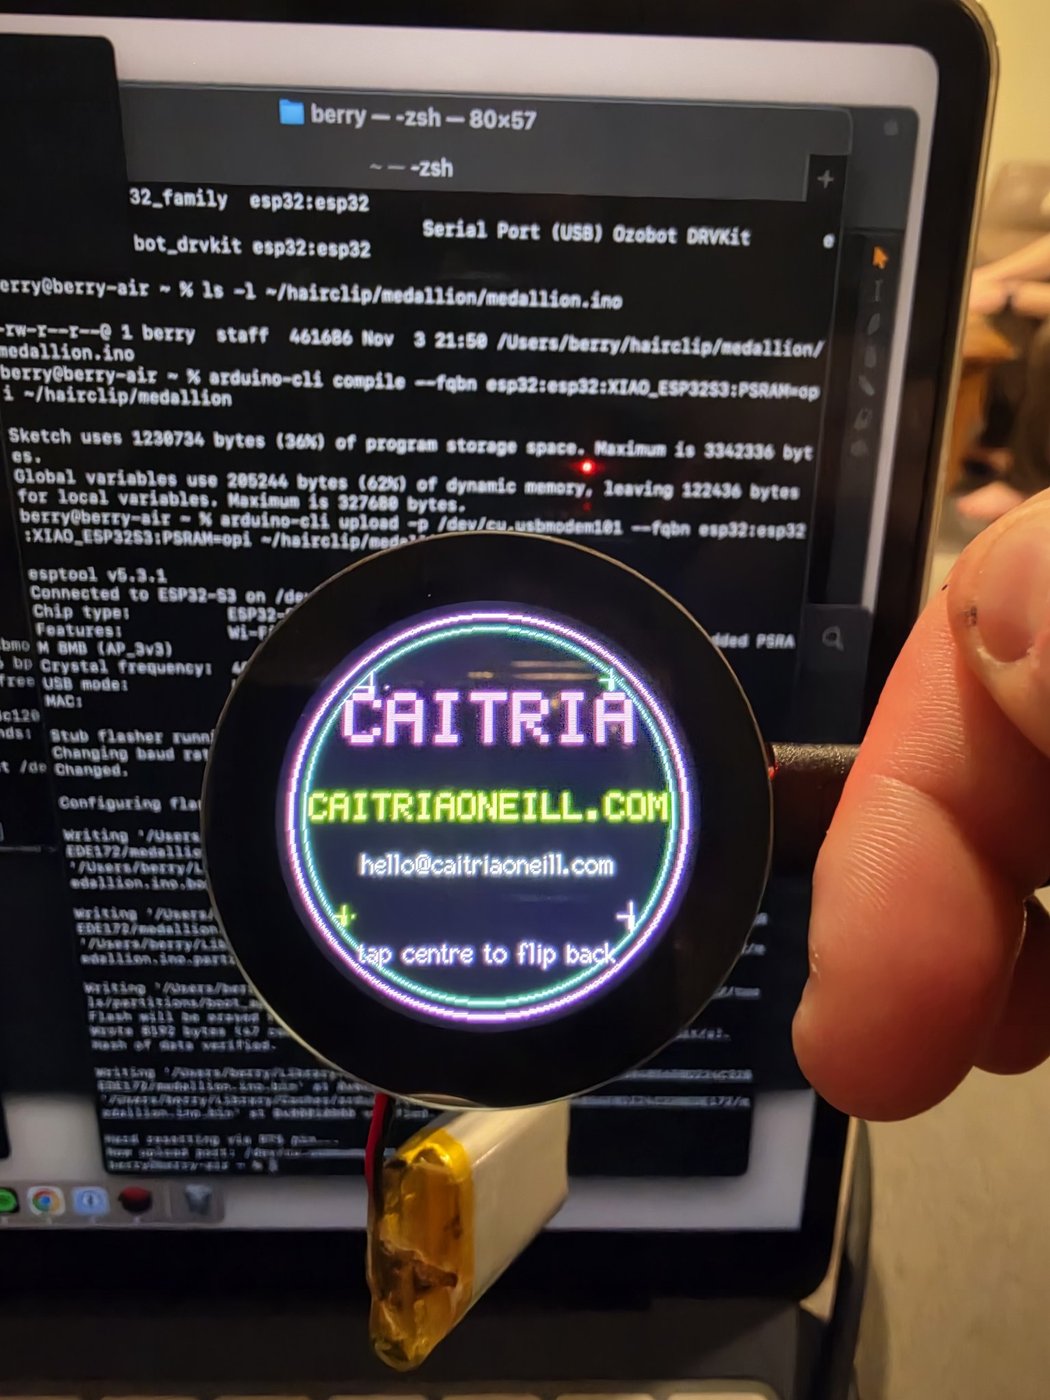
It does other screens too: a name badge (it introduces me, so I don't have to), a Magic 8 Ball, an ASCII koi pond, a blinking halftone eye. Those are for fun. The moods are the point.
And it is display only. No camera, no microphone, no sensors. It shows things; it doesn't watch or listen.
How it works
Five screens live on the tap ring. Right edge: next screen. Left edge: previous. Centre: make the screen in front of you do its thing — the next mood, the flipped badge, the shaken ball.
Two screens aren't on the ring. Live weather and a fluid-simulation aquarium live behind a web page the clip hosts for my phone's browser. Weather needs the network, and the aquarium is heavy, and neither one belongs a stray tap away. I open the page and summon them on purpose.
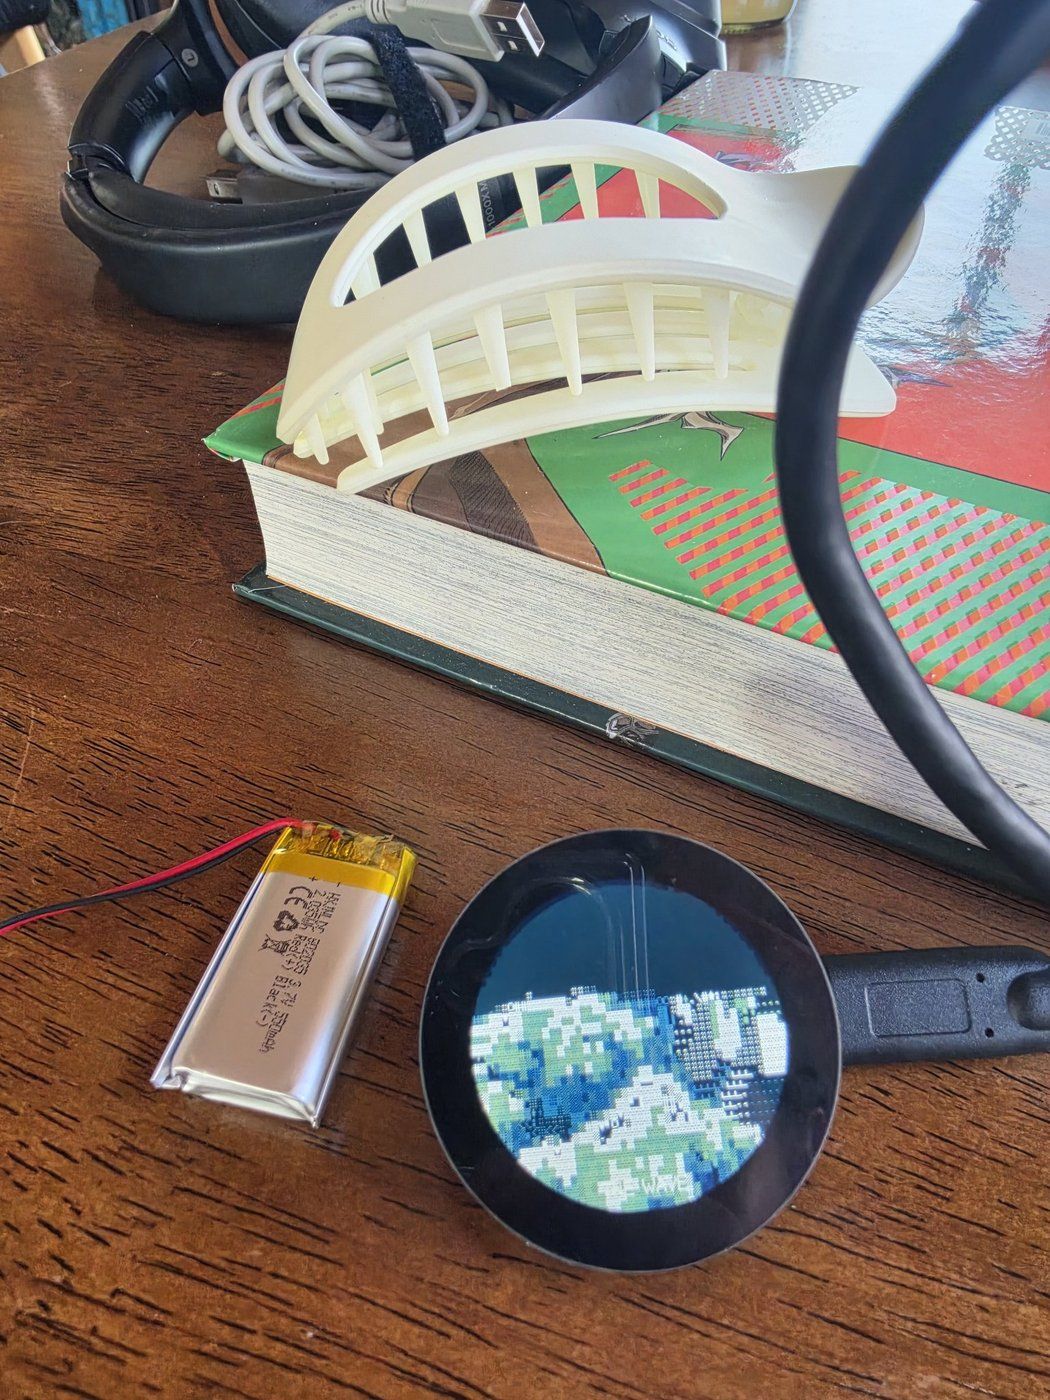
Try it — the tap ring
This is the clip's whole control scheme, running in the page. It starts on the moods, which is where the real one spends most of its time. Tap the centre to flip through what it can say. Tap the left or right edge of the little screen to walk to the other screens. The buttons underneath do the same for anyone not tapping.
Screen 1 of 5 · Mood — centre tap: next mood
Two screens are missing: the weather and the Aquarium. On the real clip they live behind the web page it hosts for my phone — I open that page and summon them on purpose, instead of landing on them by tap.
What you need
Five things, and one trap: the battery comes in lookalikes with the wrong plug, so read its line twice.
- Seeed Round Display for XIAO (SKU 104030087) — the round touch screen, $18 from Seeed
- XIAO ESP32S3 (plain version — not the Sense, not pre-soldered)
- A 3.7 V LiPo battery, size 802035, 550 mAh, with a 1.25 mm JST plug — check the plug size twice; the wrong-plug batteries all look identical in photos
- A flat claw hair clip big enough to carry it
- Soldering iron and basic comfort soldering header pins
Build it
The build is one small soldering job and a lot of typing. In order:
- Step 1 — Open Terminal, and give the project a home. Press Command + Space, type
Terminal, press Return. Then make the folder every file will live in —mkdir -p ~/hairclip/medallion— and step into it:cd ~/hairclip/medallion. Every command below assumes you're standing in that folder. - Step 2 — Solder the pin strips to the XIAO. Two strips, fourteen pins. I fit both strips dry first, tack one pin on each strip, and check the XIAO sits straight before soldering the rest — a crooked brain never seats right. Then the remaining pins, and I inspect every joint. This is the only soldering in the build.
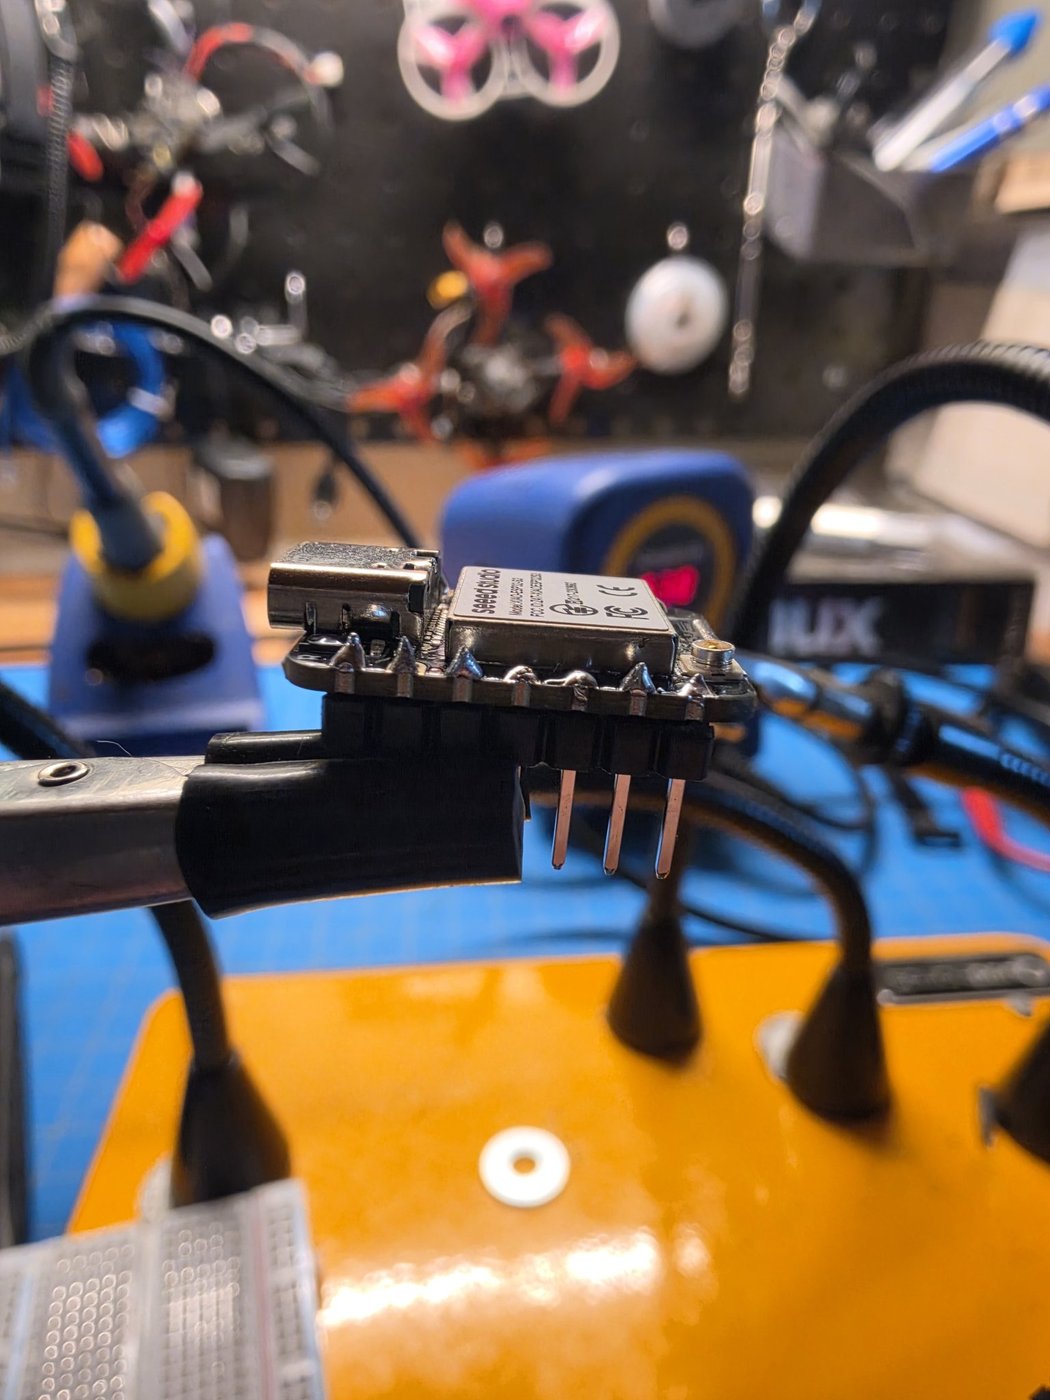
- Step 3 — Seat the XIAO on the display board. It plugs into the sockets on the back of the round board, USB-C side up. That is all the assembly the electronics need — the computer now rides the screen.
- Step 4 — Install the Arduino command-line tool. Check for Homebrew first:
brew --version. If that errors, install Homebrew (brew.sh has the one-line installer), thenbrew install arduino-cli. This is the tool that turns program files into something the little computer understands, and sends them down the cable. - Step 5 — Teach the tool about the ESP32. One-time setup:
arduino-cli config init, then point it at Espressif's board index —arduino-cli config add board_manager.additional_urls https://raw.githubusercontent.com/espressif/arduino-esp32/gh-pages/package_esp32_index.json— thenarduino-cli core update-indexandarduino-cli core install esp32:esp32. Confirm your board made the list:arduino-cli board listall | grep XIAO_ESP32S3. The code on that line,esp32:esp32:XIAO_ESP32S3, is the board's exact name, and every command from here on uses it. - Step 6 — Check for the library that conflicts. Seeed's screen library is a fork of one called TFT_eSPI, and the two cannot both be installed — programs pick the wrong one and fail in confusing ways. Check:
arduino-cli lib list | grep -i tft_espi. If a line naming plain TFT_eSPI comes back, remove it:arduino-cli lib uninstall TFT_eSPI. If nothing comes back, you're clear. That silence is the good outcome. - Step 7 — Install Seeed's two screen libraries. They aren't in the normal catalogue; they install from ZIP files straight from Seeed's GitHub. Unlock ZIP installs once —
arduino-cli config set library.enable_unsafe_install true— then install each ZIP witharduino-cli lib install --zip-path: Seeed_GFX first, then Seeed_Arduino_RoundDisplay. - Step 8 — Install LVGL, pinned, and place its settings file.
arduino-cli lib install lvgl@8.3.10. The pin is the point: Seeed's library is built against 8.3.10, and LVGL's 9.x line works differently. Then copy thelv_conf.hthat ships inside the RoundDisplay library so it sits beside the lvgl folder in your libraries folder — that is the only place LVGL looks for it, and skipping this copy is a classic first-compile error. - Step 9 — Add the program, and your WiFi. Four files go into the folder from Step 1:
medallion.ino(the program),fluid.h(the aquarium's water physics),driver.h(one line naming the screen — don't edit it), andsecrets.h. Opensecrets.hand type your WiFi name and password between the quotes. If your router broadcasts two names, use the 2.4 GHz one — this chip can't hear 5 GHz, and the weather screen will sit at LOADING forever on the wrong one. This file never leaves your computer; it's the only private value in the project. - Step 10 — Prove the hardware with Seeed's own program first. Plug the board into the Mac and run
arduino-cli board list. Write down the port it prints —/dev/cu.usbmodemfollowed by numbers. No port usually means a charge-only cable: it delivers power and no data, and it has eaten more afternoons than any bug in this post. Swap the cable. Then upload Seeed's own example,Arduino_Life, and look at the screen: Game of Life cells being born and dying means screen, touch, and computer all work. From here on, every problem is software — and software is fixable at the desk. - Step 11 — Compile the Medallion, with the PSRAM flag.
arduino-cli compile --fqbn esp32:esp32:XIAO_ESP32S3:PSRAM=opi ~/hairclip/medallion. The:PSRAM=opiis the flag that eats afternoons when skipped: the board definition ships with the chip's extra memory off, and without the flag the screen buffer falls back to a smaller, coarser mode. And know this before you need it: compile and upload are separate commands. Upload does not compile — whatever you just fixed is not on the board until you've done both. - Step 12 — Upload it.
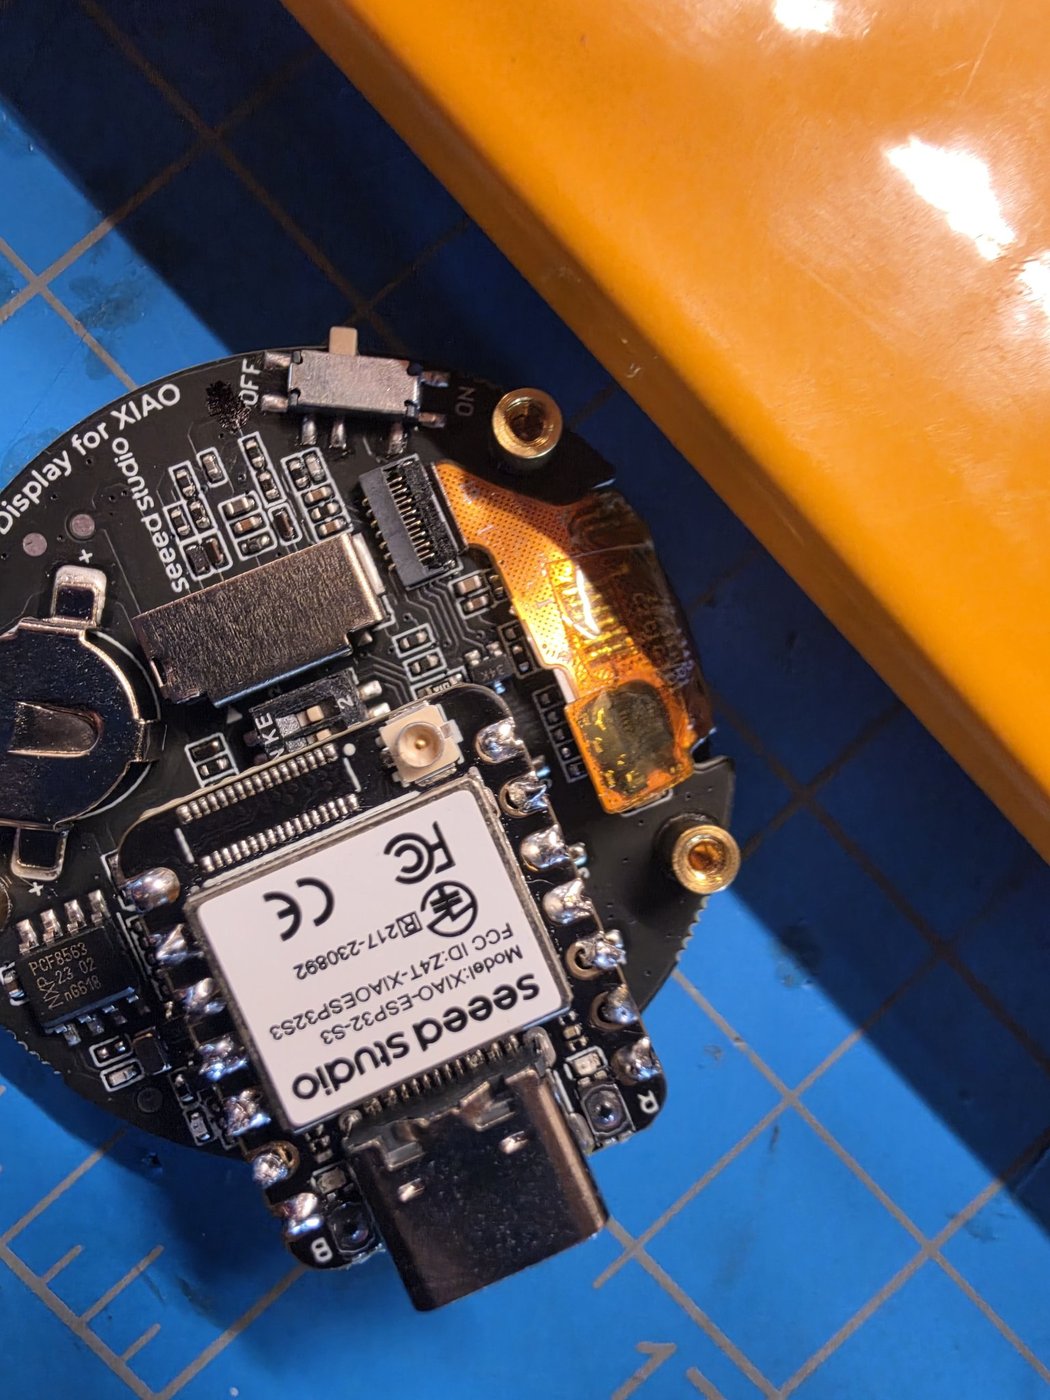
arduino-cli upload -p <PORT> --fqbn esp32:esp32:XIAO_ESP32S3:PSRAM=opi ~/hairclip/medallion, with your port from Step 10 in place of<PORT>.Hash of data verified.is the success line. The screen should come up on the Mood app: HEADS DOWN. - Step 13 — Give it a battery, then slide the switch ON. Board unplugged from USB first. Start with the two-minute meter check in the full guide: plugs this size ship wired both ways round, and backwards power is the one mistake in this build that costs hardware. Then push the battery's white plug into the white socket on the back of the board — it seats one way only, the
+is printed beside the socket, and it should sit flush. Last, slide the little power switch ON. It ships OFF, and with it off the board does nothing at all. Ask me how I know.
- Step 14 — Tap through it. Right edge, left edge, centre. Hold a finger down for about a second to open the phone controller page; the clip starts its own WiFi network, and a small green dot on the screen tells you it's live.
That's the short version. The full guide walks every step here from zero — each command in full, and what you should see after running it — and it lives with the project.
Point an agent at it
I built this with an agent as my pair programmer: Maude, the agent I work with. It wrote the program; I soldered the pins, plugged in the battery, and tapped the screen — and reported back what the screen actually did. The two-billion-pixel bug below was found exactly that way: I said the clip was stuck on the pond, and it went and read the eye's drawing code.
That division of labour is open to anyone building one of these. The guide behind this post is written the way it is — every command spelled out, what you should see after each step — precisely so an agent can follow it too. So hand the code and the guide to your own agent, and let it walk you through the build: it can run the commands, read the compiler's complaints, and debug alongside you. You keep the soldering iron, the battery check, and the tapping. It keeps the command line.
The code and the full guide will be linked here.
The bug I'll keep
The eye screen once froze the whole clip so hard it looked possessed. The cause, when we dug it out: at the very tip of the eye's outline, a curve formula produced a value a hair below zero; a fractional power of a negative number came out as NaN; and the drawing library obediently tried to draw a line 2.1 billion pixels long — one step at a time, forever. The screen kept showing the previous app, because the eye's first frame never finished. One line of code — clamp the value at zero — fixed it. Every wearable bug since has had to compete with that one for style.
Credit where it's due
Prior art and borrowed brilliance: Tina Chi's aquarium hairclip, meshtimes' phone-controlled text clip, and mewtru's Magic 8 Ball pin showed me the form was possible. The aquarium's water is the ocellus shallow-water solver by phreakocious, a fork of Jekyllz's ESP32-third-eye (MIT). The rest — the ring, the parking, the eye, the koi — is mine, built with my agent, Maude.
A learner, maker, teacher — Tech 🤝 Humans.
FILED UNDER — MAKE YOUR OWN · WEARABLES · BLOG · NOVEMBER 2026